Create 2D lights with Unity
In this tutorial, the goal is to create 2d lights with Unity but also a map with a tile palette and a tilemap. The lights can be colored and they can be added to each other.
Create the map with tilemap
2D URP project
The first thing to do is to create a project with the Universal Render Pipeline :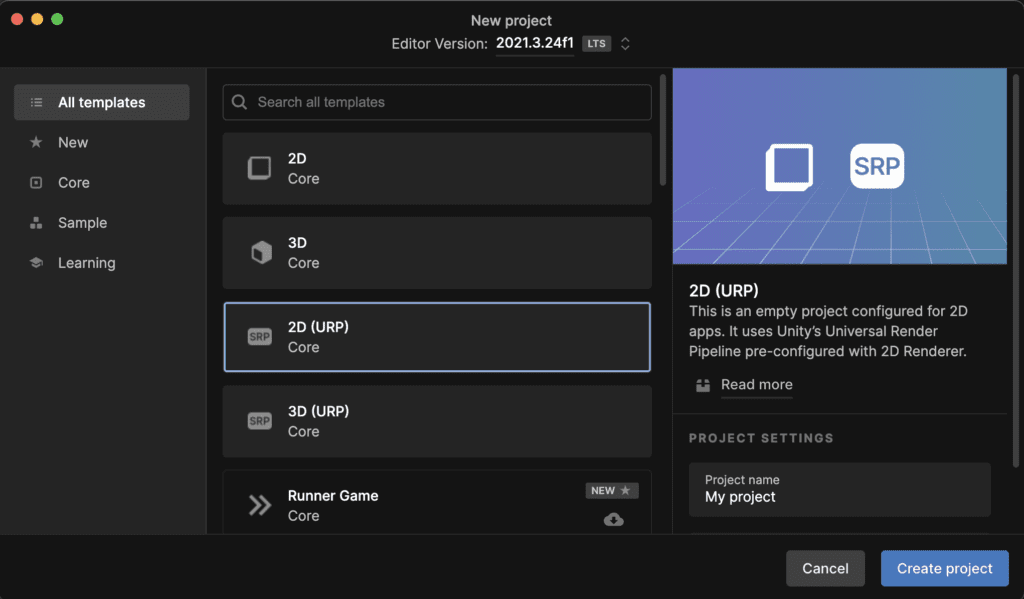
Import 2d tileset
Next you can download some tileset to create a test map : pixel art top down
After you have downloaded the textures you need to import the texture into Unity : ![]()
You can use the Sprite Editor to slice the tiles, you will need to specify the size of the tiles 32×32 :
After the splitting is complete you can create a tile palette like this :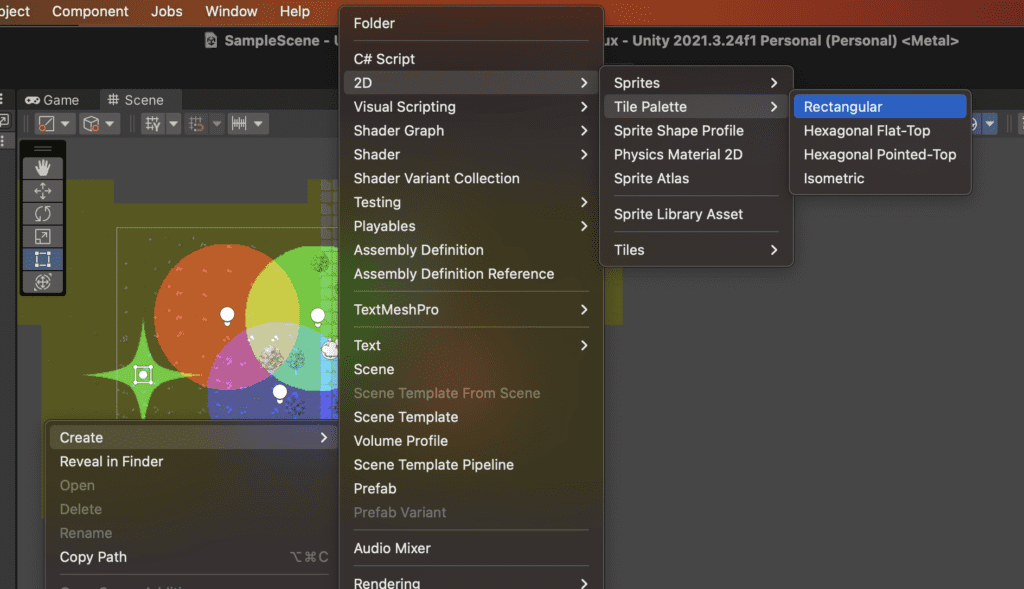
Open the tile palette editor like this :![]()
After the tile palette editor is open you can drag and drop the previous texture on the palette to create multiple tiles.
Create the tilemap on the scene
To create the tilemap click on the scene hierarchy and select tilemap :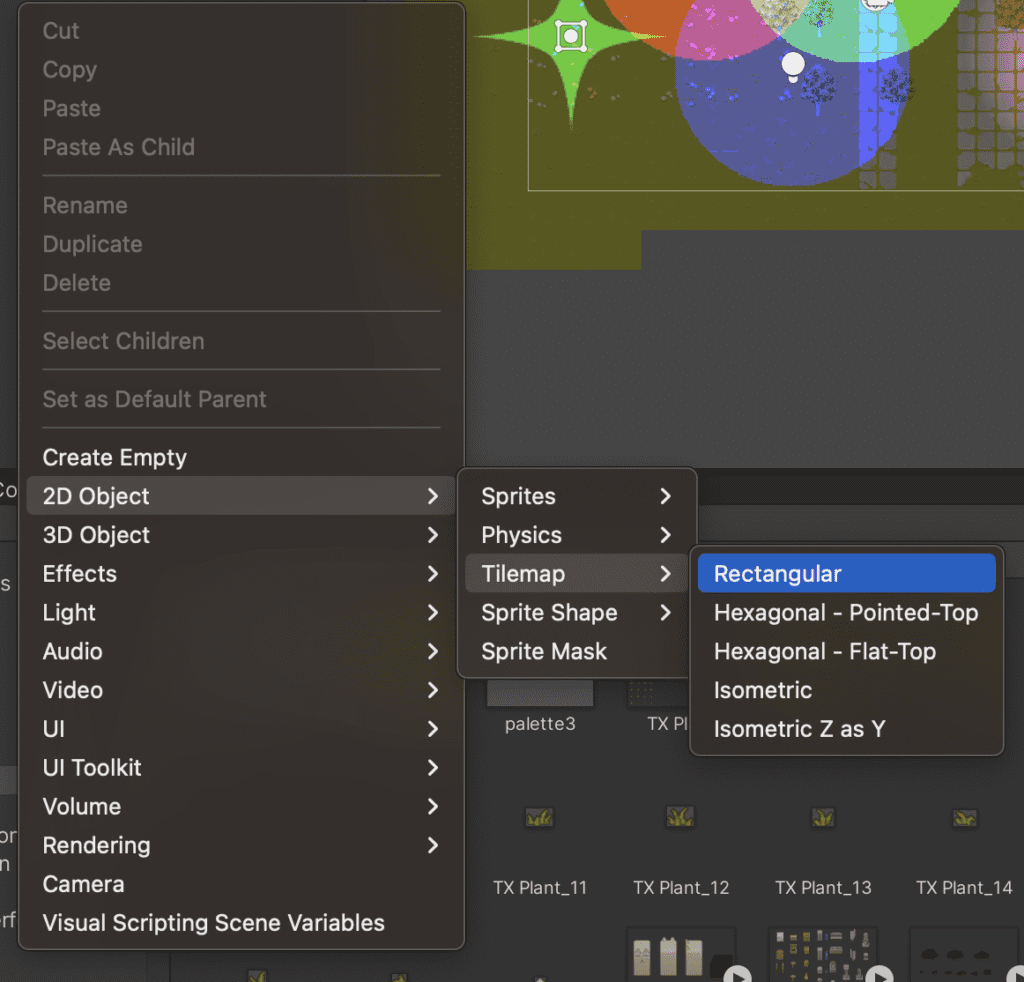
After the tilemap is created you can paint with the tile palette open on the tilemap like this :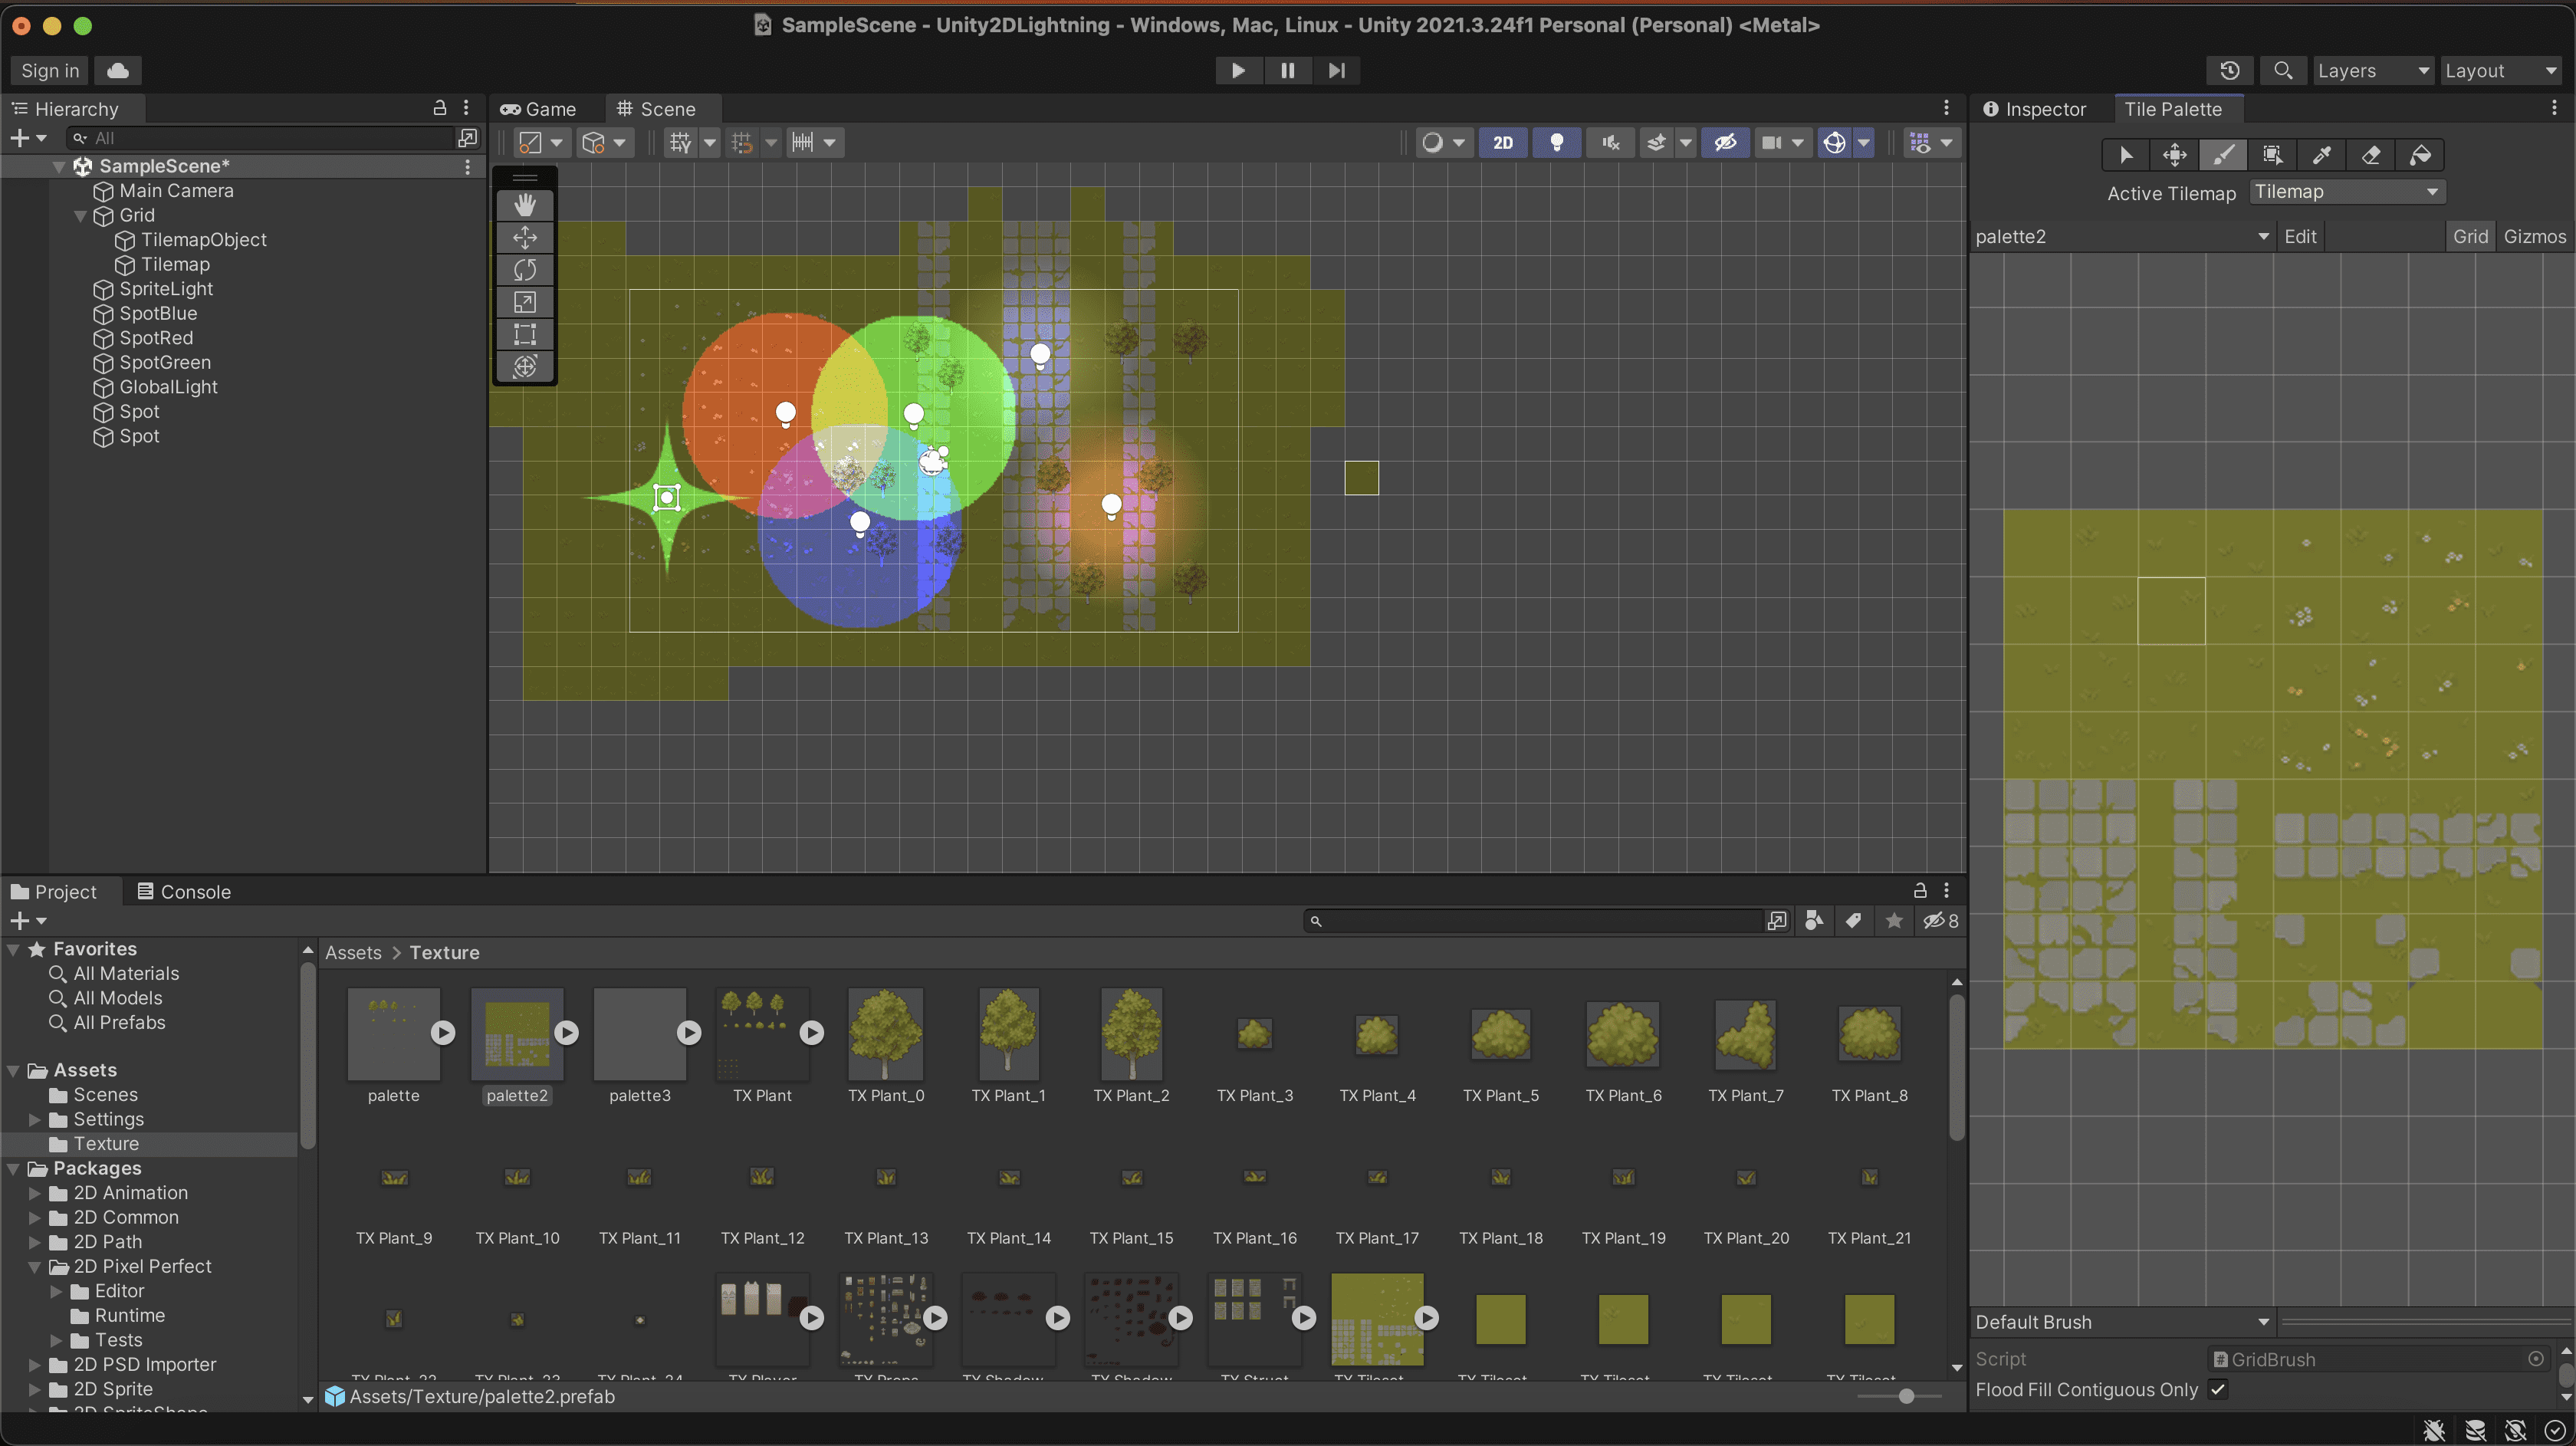
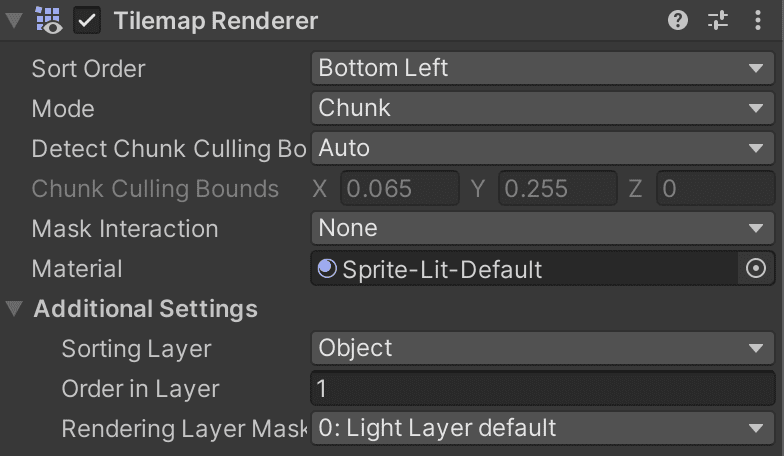
As you see on the screen I create 2 tilemap one for the ground and one for the tree, if you want to do the same you need to modify the tilemap renderer for the tilemap on top : order in Layer is set to 1.
2d unity lights
Now it’s time to create some lights, creating lights is really simple you need to pick one type of light first :
You can play around with lights to see which one you prefer.