How to use a tilemap in Unity?
In this tutorial we will see how to use a 2d tilemap in Unity.
Create a 2d project
The first thing to do is create a project, you can select the 2D template with URP, that way you can add lights, I have written a tutorial about it : Create 2d lights with Unity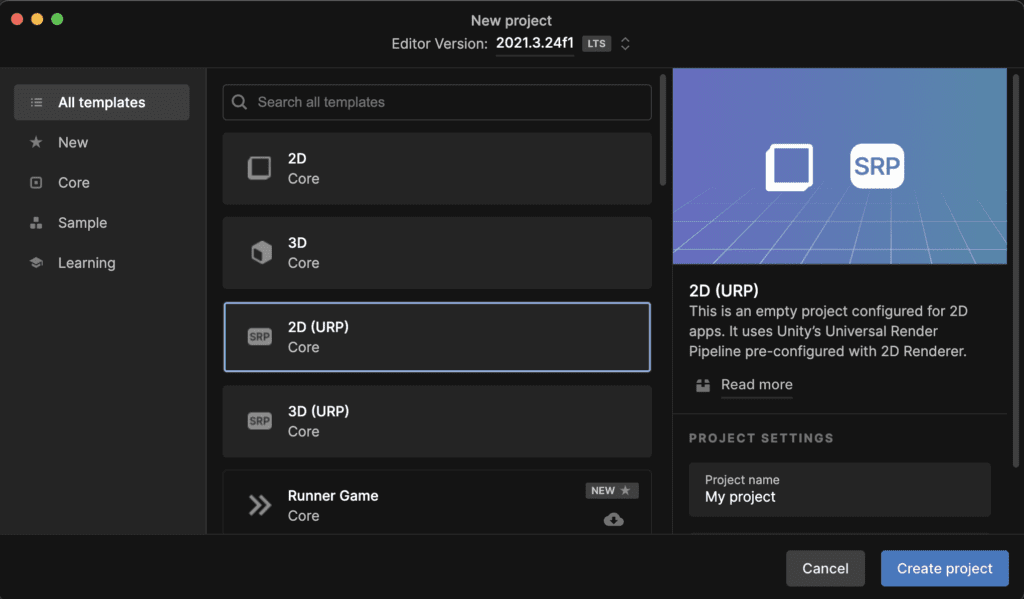
After the project creation you will need to import the sprites.
Example with an isometric tileset
In this tutorial I begin by creating a map with an isometric tileset : Isometric dungeon crawler.
After the download create a Texture folder an drop and drop the sprites you should have something like this :![]()
Creating the floor tiles
Click on the floor tiles and in the inspector change the sprite mode to multiple :
After setting the sprite mode to multiple click on the button Sprite Editor to edit the slicing of the sprite.
In the Sprite Editor you should see the Tileset, click on the arrow on the right to perform the slicing you should see something like this :![]()
Click on Slice. After the slicing is complete you can click on Apply. After that, you can close the Sprite Editor.
2d isometric tile palette
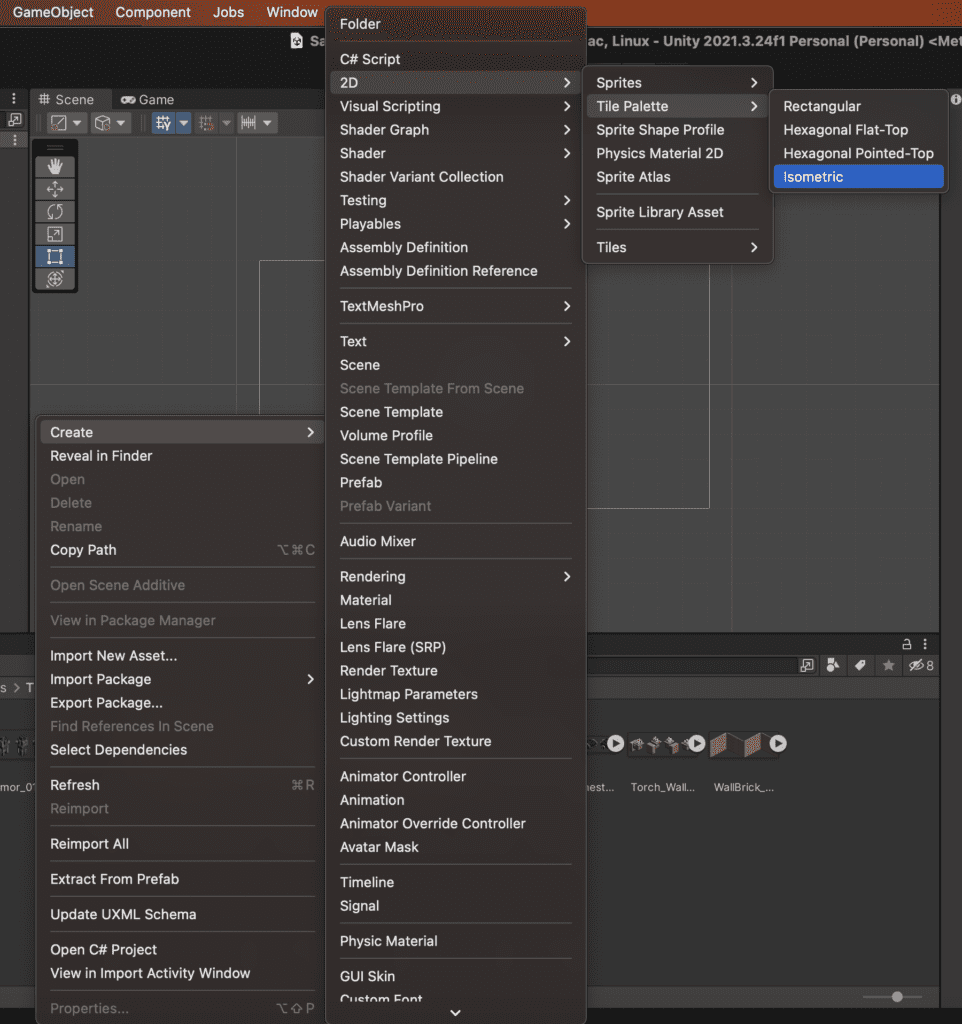
The next thing to do is to create the isometric tile palette, for that right click on an empty space in the Texture folder and navigate in the 2d menu like this :
You can rename the tile palette to palette. After the palette creation you need to open it with the tile palette editor
Tile palette editor
Naviguate inside the Window menu like this :![]()
After the tile palette editor is open you can put it next to the inspector you should have spmething like this :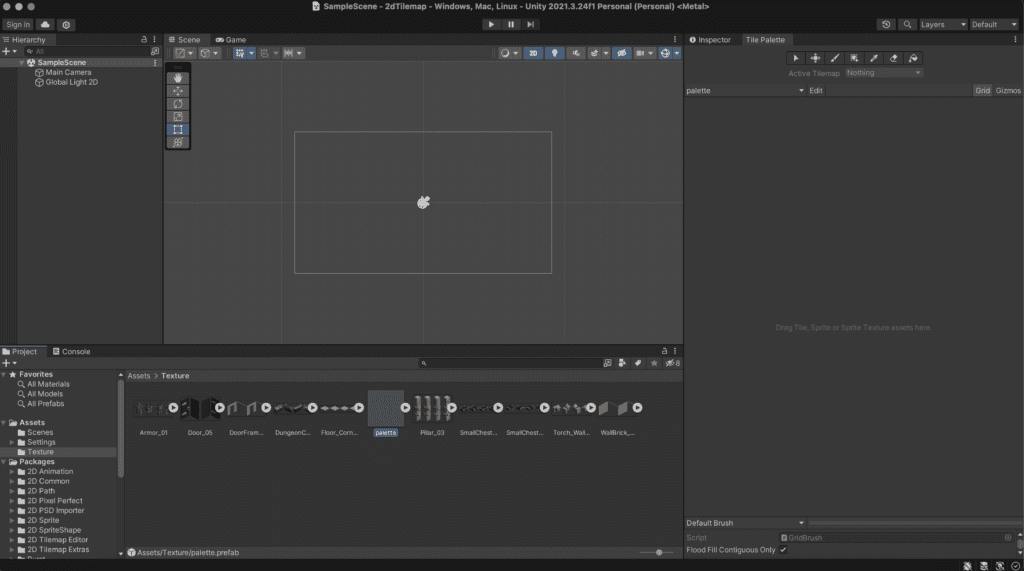
After that, simply drag and drop the floor texture inside the tile palette editor. You will be asked to select a folder for generating tiles, I am putting the tiles inside the Texture folder.
Set the pixel per unit equal to the width of a tile, to know the width you can use the one calculated in the Sprite editor :
In this case the width of the tile is 401 pixels, so you can put 401 in the pixels per unit you should see it when you click on the texture :![]()
After the tiles generation you can edit the tiles palette to dispose your tiles. You can use the controls in the tile palette editor to remove a tile :
After edition of the tile palette you should see all your tiles like this :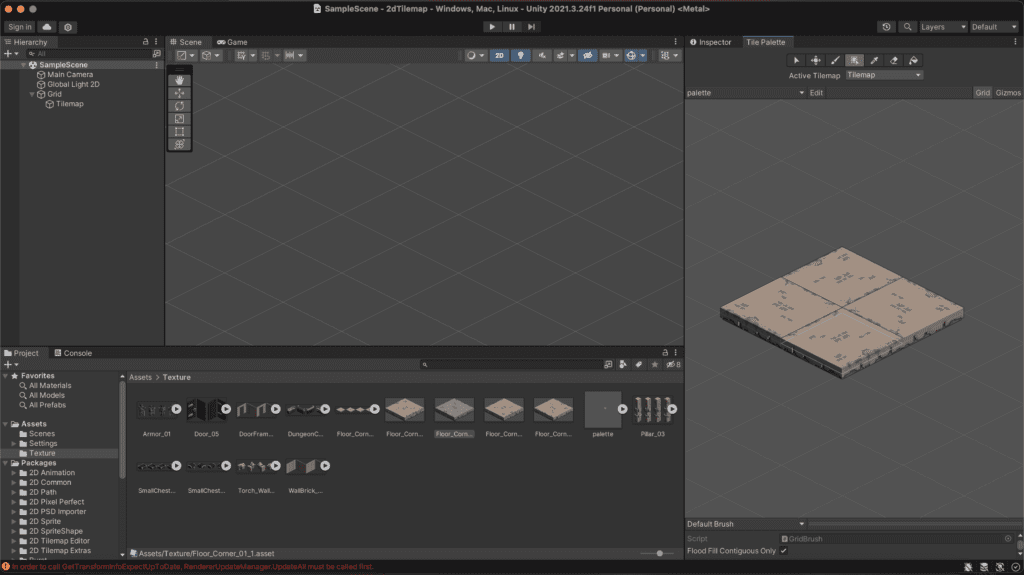
Create the isometic tilemap
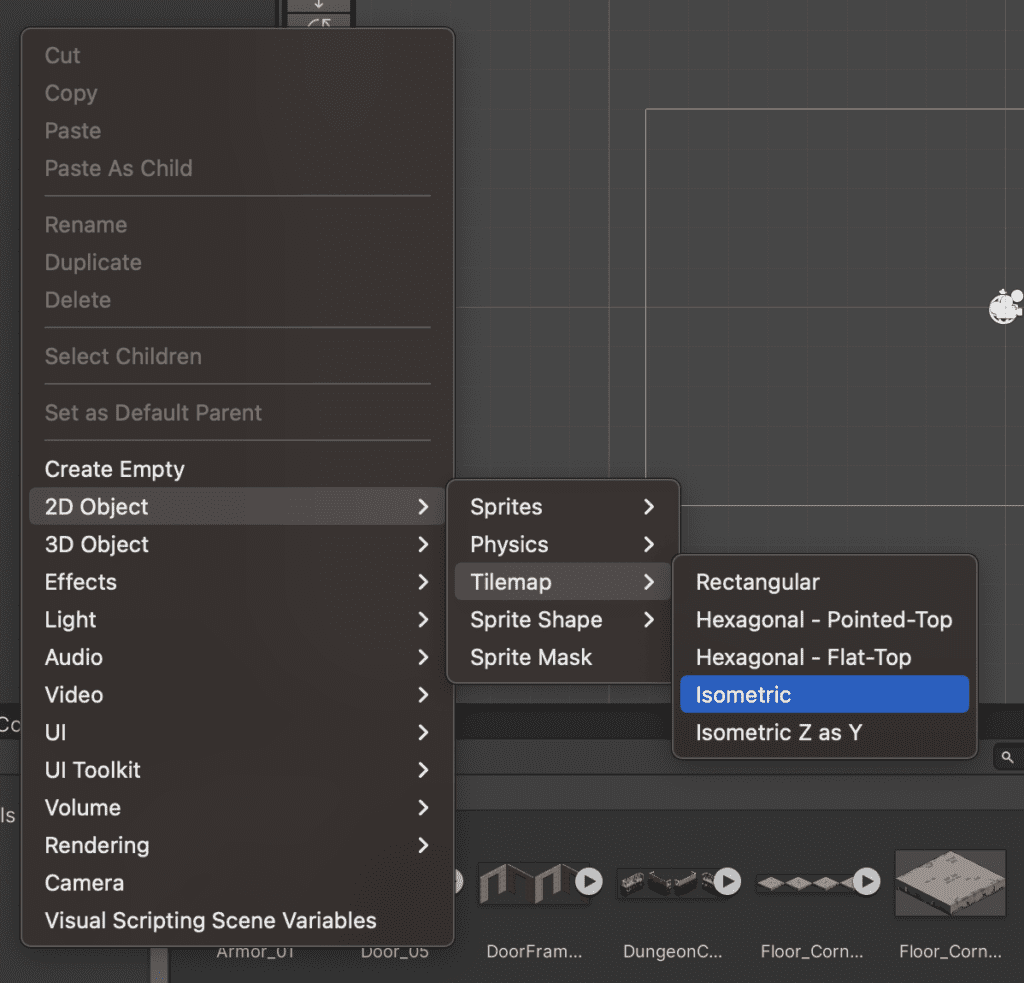
The next thing to do is creating the isometric tilemap, so that you can place your tiles. For that right click on the scene hierarchy and naviguate to the tilemap :
Filling the map with tiles
You can now select a tile inside the tile palette editor and place them on your tilemap.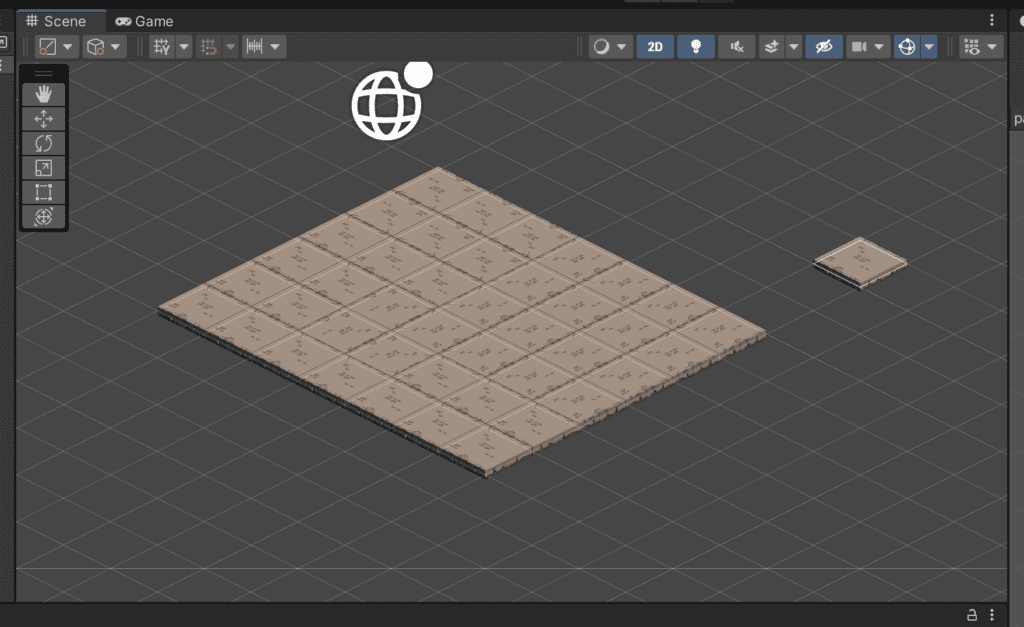
Pixel perfect Camera
To obtain a nice render of the map you will need to add the pixel perfect camera script, you can find it by searching pixel.![]()
Here are the property of for this example, you can play with them to make it look good :![]()