Install SDL3 on macOS with CMake
In this SDL3 tutorial, you'll learn how to compile SDL3 with CMake on macOS and run a simple Hello World project to get started quickly.
- git, cmake

Installation of Homebrew for git and Cmake
What is Homebrew?
Homebrew is a free and open-source software package management system for macOS, simply you will be able to install most of the software and libraries with one command line. If you don’t have Homebrew installed, you can install it with one command line on the official website Homebrew.
Install git
After brew is installed, you can install git with:
brew install gitInstall Cmake
After downloading the project, you will need to generate the project to compile, and for that CMake makes this step easy. To install it with Homebrew, same thing:
brew install cmakeIf you want to have the latest version of SDL3, you can pull the master with git:
In a terminal, create a directory where you want to download SDL, with mkdir then:
git clone [https://github.com/libsdl-org/SDL.git](https://github.com/libsdl-org/SDL.git)After the code is cloned, you need to navigate inside the SDL directory:
mkdir build
cd build
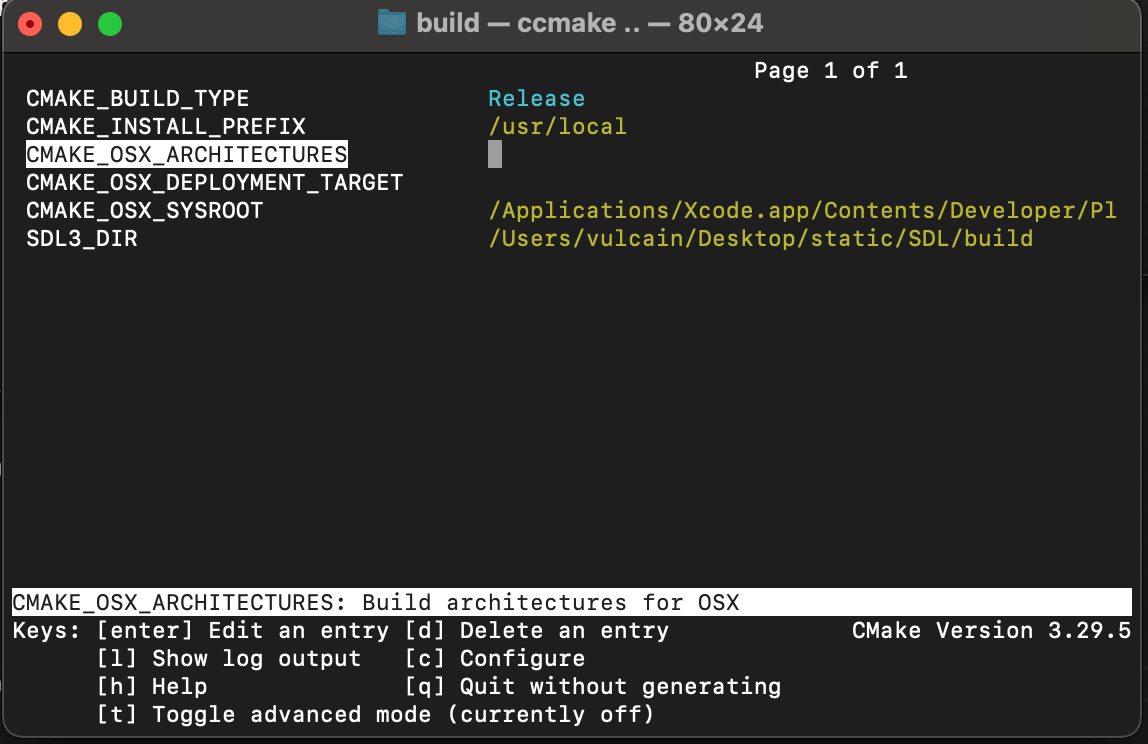
ccmake ..
# press c (for configure)
# You'll need to set the line CMAKE_BUILD_TYPE to Release.
# press c (for configure)
# press g (for Generate)
make -j6 # (-j indicates the number of cores you want to use to make the project, I have 6 cores on my machine).
You can install the library on your system with: sudo make install
If the make is successful, you should have:
libSDL3.0.dyliblibSDL3.dylib
Copy the file SDL/cmake/sdlfind.cmake inside the build directory of SDL (SDL/build).
Copy the folder include in the parent folder of SDL inside this directory. Inside this include directory, you should have an SDL2 directory. This SDL2 directory is not complete; it’s missing the SDL_config.h generated with make. You should find it in the SDL/build/include-config-release directory, copy this file inside the other include/SDL2 folder with all the files.
Make a SDL3 project on MacOs
For this project, we will use CMake to handle the makefile. For that, we need to create a config file for it, a CMakeLists.txt:
cmake_minimum_required(VERSION 3.10)
project(SDL3Project)

set(CMAKE_CXX_STANDARD 11)
set(CMAKE_CXX_STANDARD_REQUIRED True)

find_package(SDL3 REQUIRED)

add_executable(${PROJECT_NAME} main.cpp)
target_link_libraries(${PROJECT_NAME} SDL3::SDL3)
After you have saved the CMakeLists.txt inside a new directory (for example SDL3Project), we need to create a sample project in C++. For that, use this simple example displaying a green rectangle.
Inside a main.cpp file, copy the following code. The file needs to be in the same directory as the CMakeLists.txt file:
#include <SDL3/SDL.h>
#include <iostream>

int main(int argc, char* argv[]) {
    SDL_Init(SDL_INIT_VIDEO);

    SDL_Window* win = SDL_CreateWindow("SDL3 Project", 640, 480, 0);
    if (win == nullptr) {
        std::cerr << "SDL_CreateWindow Error: " << SDL_GetError() << std::endl;
        SDL_Quit();
        return 1;
    }

    SDL_Renderer* ren = SDL_CreateRenderer(win, NULL);
    if (ren == nullptr) {
        std::cerr << "SDL_CreateRenderer Error: " << SDL_GetError() << std::endl;
        SDL_DestroyWindow(win);
        SDL_Quit();
        return 1;
    }

    SDL_Event e;
    bool quit = false;

    // Define a rectangle
    SDL_FRect greenSquare {270, 190, 100, 100};

    while (!quit) {
        while (SDL_PollEvent(&e)) {
            if (e.type == SDL_EVENT_QUIT) {
                quit = true;
            }
        }

        SDL_SetRenderDrawColor(ren, 0, 0, 0, 255); // Set render draw color to black
        SDL_RenderClear(ren); // Clear the renderer

        SDL_SetRenderDrawColor(ren, 0, 255, 0, 255); // Set render draw color to green
        SDL_RenderFillRect(ren, &greenSquare); // Render the rectangle

        SDL_RenderPresent(ren); // Render the screen
    }

    SDL_DestroyRenderer(ren);
    SDL_DestroyWindow(win);
    SDL_Quit();

    return 0;
}
Now you have two files in your folder:
CMakeLists.txtmain.cpp
You can build and test your project! You can do the same thing as before:
mkdir build
cd build
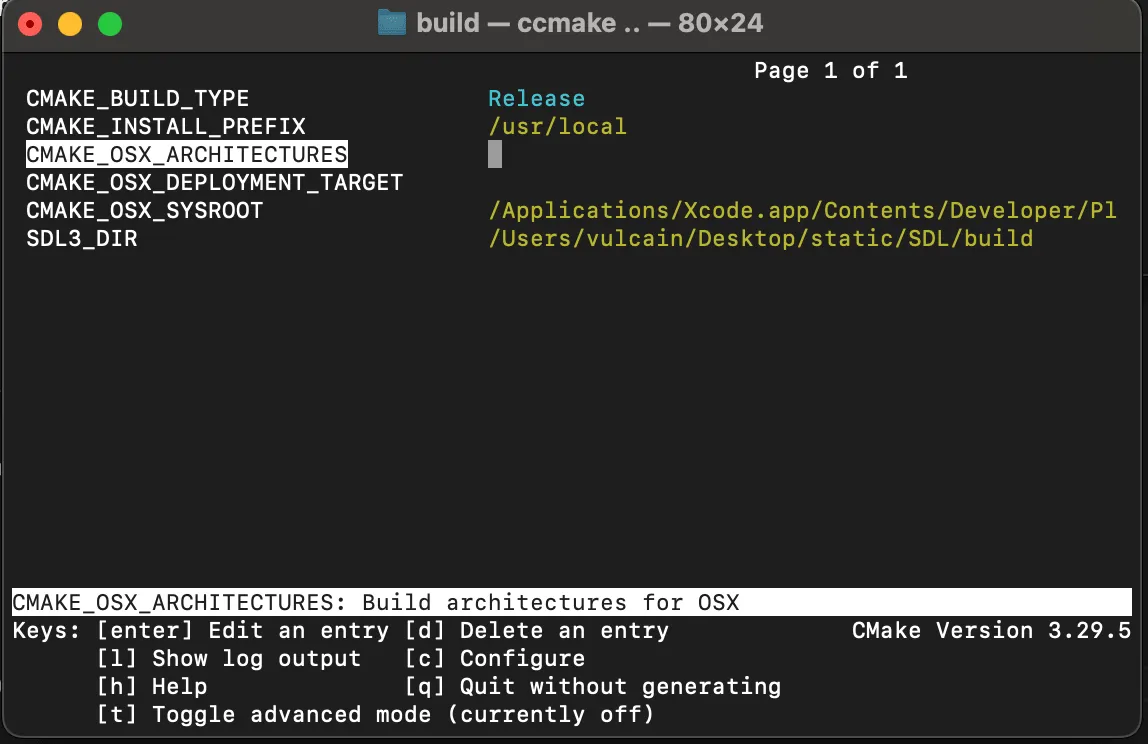
ccmake ..
# press c (for configure)
# You'll need to set the line CMAKE_BUILD_TYPE to Release and set SDL3_DIR to the path of the folder where you build the SDL3 library.
# press c (for configure)
# press g (for Generate)
make
You need to have something like this in the terminal during the cmake configure step:
Full project
Download the full project: SDL3_HelloProject_osx.7z