How to Install SDL3 on Windows Using Visual Studio and CMake
Learn how to install and compile SDL3 on Windows using Visual Studio and CMake. This tutorial also includes a simple test program to verify your installation.
- Kubernetes v1.28+, Helm v3

The goal of this tutorial is to install SDL3 from an archive and also compile it on Windows.
Install SDL3 from an archive for Visual Studio
Download the SDL3 archive
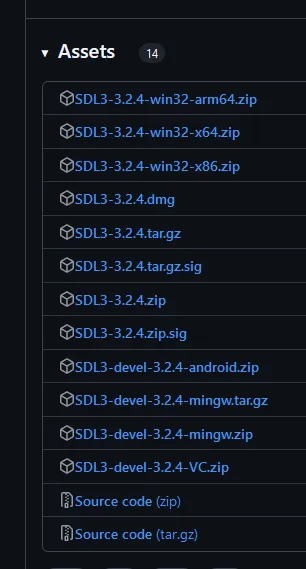
Go to the official SDL3 website and download the develoment archive for visual studio, for me the latest version of the archive is called SDL3-devel-3.2.4-VC.zip.
Extract the SDL3 archive
Choose a folder where you want to extract the SDL3 archive.
Create the Hello World project
Install CMake to build SDL3 on Windows
Next, you’ll need to install the CMake software from the official website. CMake is a build system that allows you to set up the project for multiple compilers.
Create the hello world project : SDL3 Windows
Create the folder where you want to add your files, you can call it SDL3 Windows.
Create the CMakeLists.txt file
You can create the CMakeLists.txt file inside the folder with this in it:
cmake_minimum_required(VERSION 3.10)
project(HelloProject)

# Set the standard C++
set(CMAKE_CXX_STANDARD 17)
set(CMAKE_CXX_STANDARD_REQUIRED True)

# Required the SDL3 library
find_package(SDL3 REQUIRED)

add_executable(${PROJECT_NAME} main.cpp)
target_link_libraries(${PROJECT_NAME} PRIVATE SDL3::SDL3)
Create the main file
You need to create the main file next to the CMakeLists.txt file with this in it:
This is the main function (the function executed at the start) of our project sdl3 windows.
#include <SDL3/SDL.h>
#include <iostream>

int main(int argc, char* argv[]) {
    SDL_Init(SDL_INIT_VIDEO);

    SDL_Window* win = SDL_CreateWindow("SDL3 Project", 640, 480, 0);
    if (win == nullptr) {
        std::cerr << "SDL_CreateWindow Error: " << SDL_GetError() << std::endl;
        SDL_Quit();
        return 1;
    }

    SDL_Renderer* ren = SDL_CreateRenderer(win, NULL);
    if (ren == nullptr) {
        std::cerr << "SDL_CreateRenderer Error: " << SDL_GetError() << std::endl;
        SDL_DestroyWindow(win);
        SDL_Quit();
        return 1;
    }

    SDL_Event e;
    bool quit = false;

    // Define a rectangle
    SDL_FRect greenSquare {270, 190, 100, 100};

    while (!quit) {
        while (SDL_PollEvent(&e)) {
            if (e.type == SDL_EVENT_QUIT) {
                quit = true;
            }
        }

        SDL_SetRenderDrawColor(ren, 0, 0, 0, 255); // Set render draw color to black
        SDL_RenderClear(ren); // Clear the renderer

        SDL_SetRenderDrawColor(ren, 0, 255, 0, 255); // Set render draw color to green
        SDL_RenderFillRect(ren, &greenSquare); // Render the rectangle

        SDL_RenderPresent(ren); // Render the screen
    }

    SDL_DestroyRenderer(ren);
    SDL_DestroyWindow(win);
    SDL_Quit();

    return 0;
}
Create the project with CMake
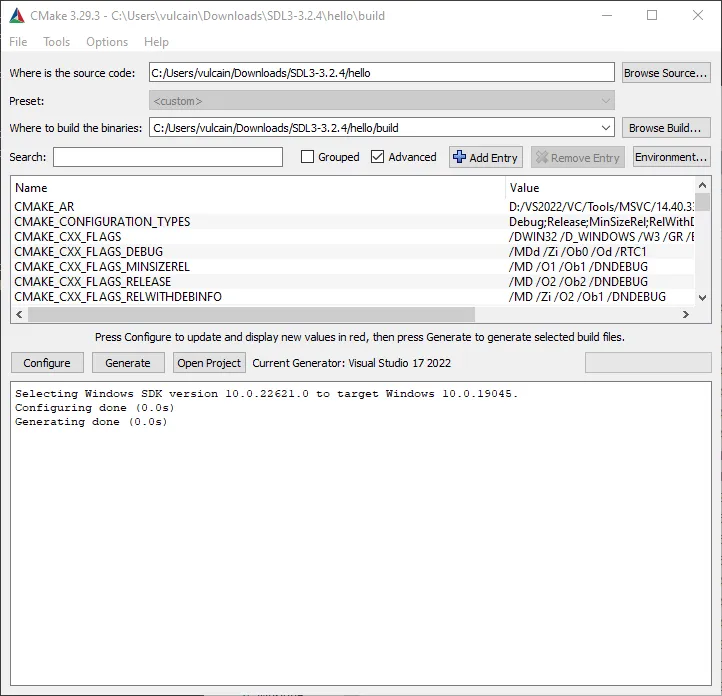
You need to create a build folder next to the CMakeLists.txt file and then open the CMake GUI program, select the correct path for the project and click on Configure.
You should set the SDL3_DIR (for me it’s C:/Users/vulcain/Downloads/SDL3-3.2.4/cmake).
After the path is set, click on Configure again. Everything should be good, then click on Generate. You should have something like that:
After the project is generated, click on Open Project. Visual Studio should launch.
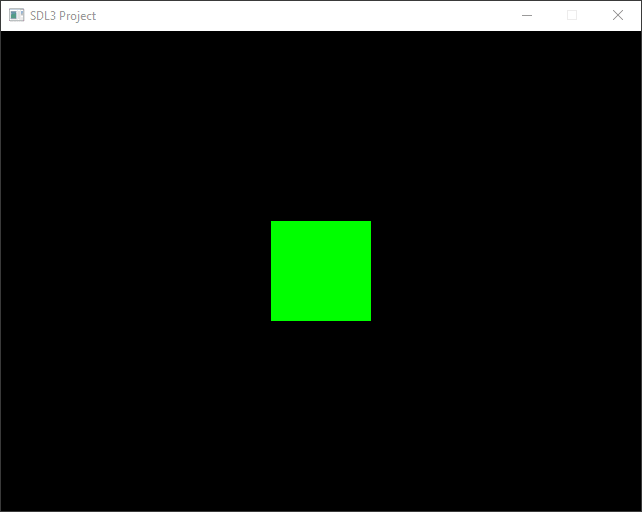
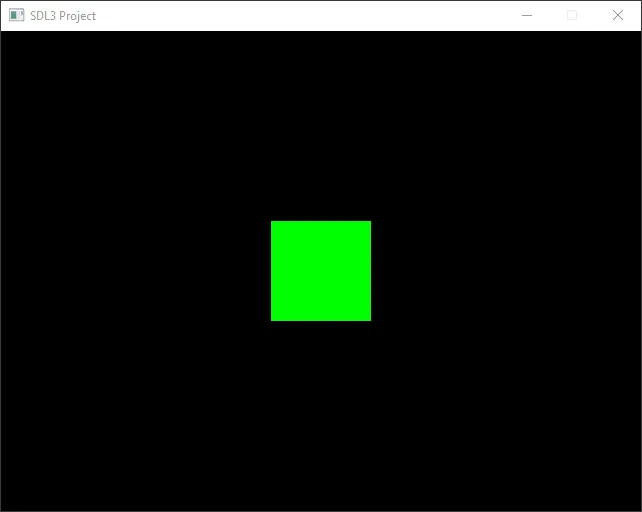
Select the HelloProject and set it as a startup project, then compile the project and you should have the green rectangle displayed on the screen.
The full project : SDL3 windows
You can download the full project: SDL3_HelloProject_win.7z